Manage access with Dynamic and Airtable


Let’s say you want to manage an invite-only beta for your web3 project, with Airtable being your source of truth CRM, where you control who (and which wallets) has access to your beta. What should you do?
Well.. you can easily do it with Dynamic and Airtable. Let’s take a look at how.
Note: In this guide, it is assumed that basic authentication with Dynamic has already been set up, but if not, it can be done in a few minutes by following the getting started guide.
Step 1: Set up your Airtable CRM
Create a basic CRM table
To start, we’ll create a basic Airtable table that has a few fields. In your base, create a new table and name it Access list, and add the following fields:
.jpg)
Fields:
- Name - this will be the name of folks who submit information to the list.
- Wallet Address - we’ll ask each person that has a wallet to submit their wallet address.
- Reason - perspective applicants will specify why they need access.
- Allow - this will be an internally-used checkbox for an admin to grant/remove access.
- DynamicID - we’ll use this to map things to Dynamic, so that entries can later be deleted/updated.
Create a submission form
Now that we have a basic CRM ready, let’s generate a new form to allow customers to sign up for the beta. You can do so by going to views -> create -> form.
Note: We do not surface the `Allow` and `DynamicID` fields which are only used internally.
.jpg)
Great. Now we have a CRM and an in-bound form, and we're done with our basic Airtable setup.
Step 2: Turn on Dynamic’s access list
Now that we have a basic CRM going, let’s turn to configuration within Dynamic.
A quick note: how Dynamic works for access control
Dynamic is a full web3 authentication and authorization system. With Dynamic’s user management setup, you can quickly add additional authorization functions, such as access list control and NFT gating, without the need to implement separate access management tools, as they can simply be enabled in seconds.
Create the Access list in Dynamic’s UI
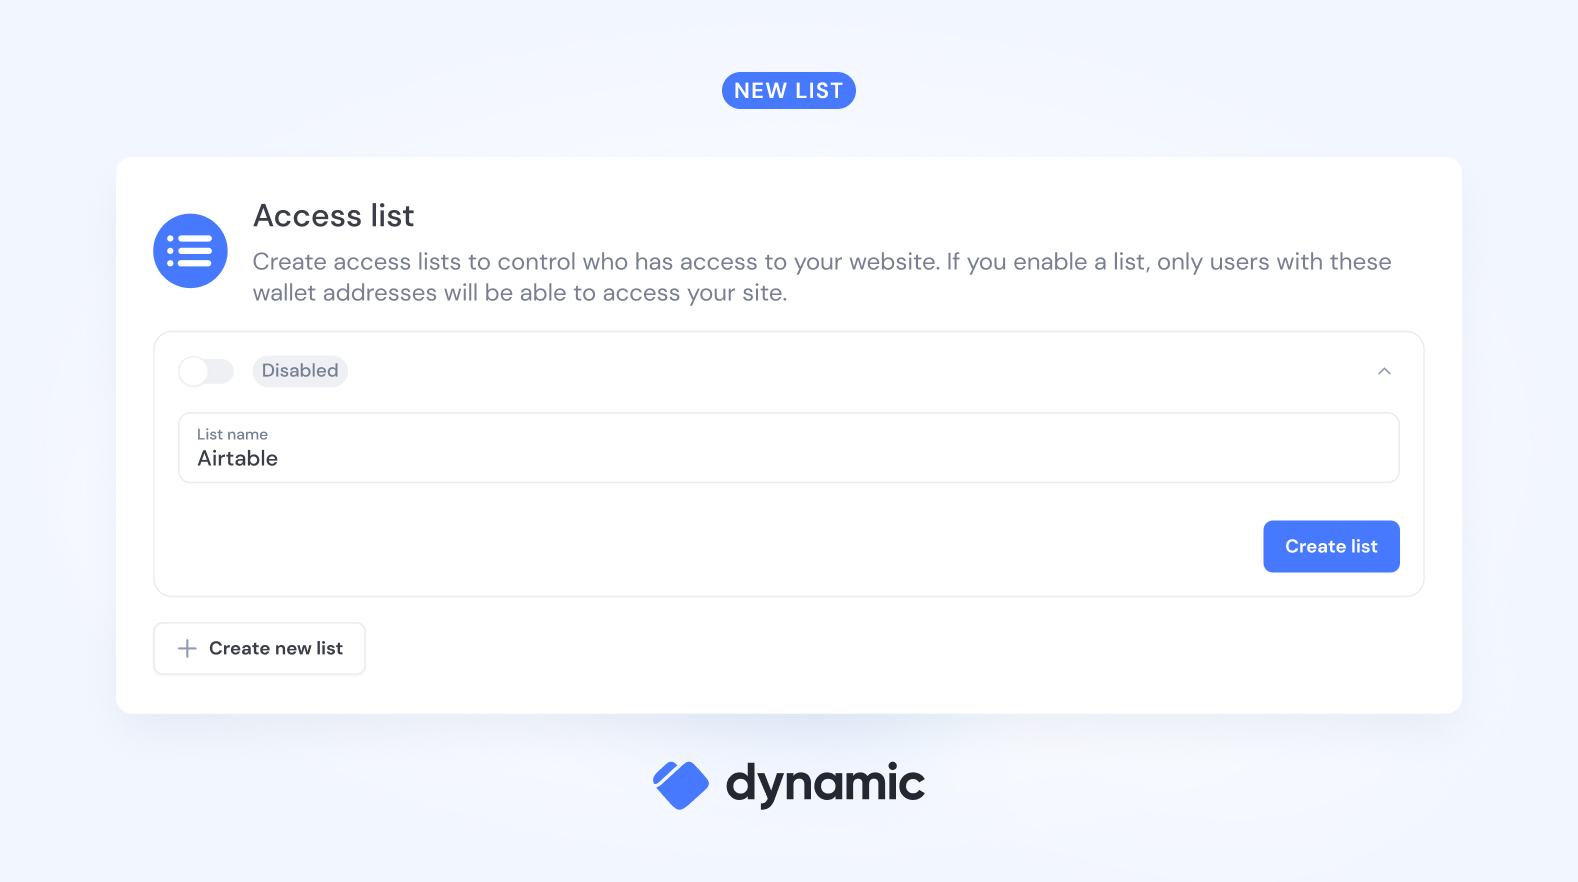
In your Dynamic dashboard, click on Access list, and click to Create a new list.
.jpg)
Within the Create list modal, define a name for your list (we called ours Airtable) and click Create new list.

Now we have an Access list set up. When we add wallet addresses to the list, Dynamic will automatically allow their entry, blocking all other wallets from being able to log in.
You will be able to grab your Access list ID from this screen as well, which you’ll need later on in the process.
Generate an API token for programmatic access to the list
Our next step is to generate an API token so that we can programmatically update the list. Go to API within your developer dashboard, and click to Create token.
.jpg)
Step 3: Create an Airtable automation
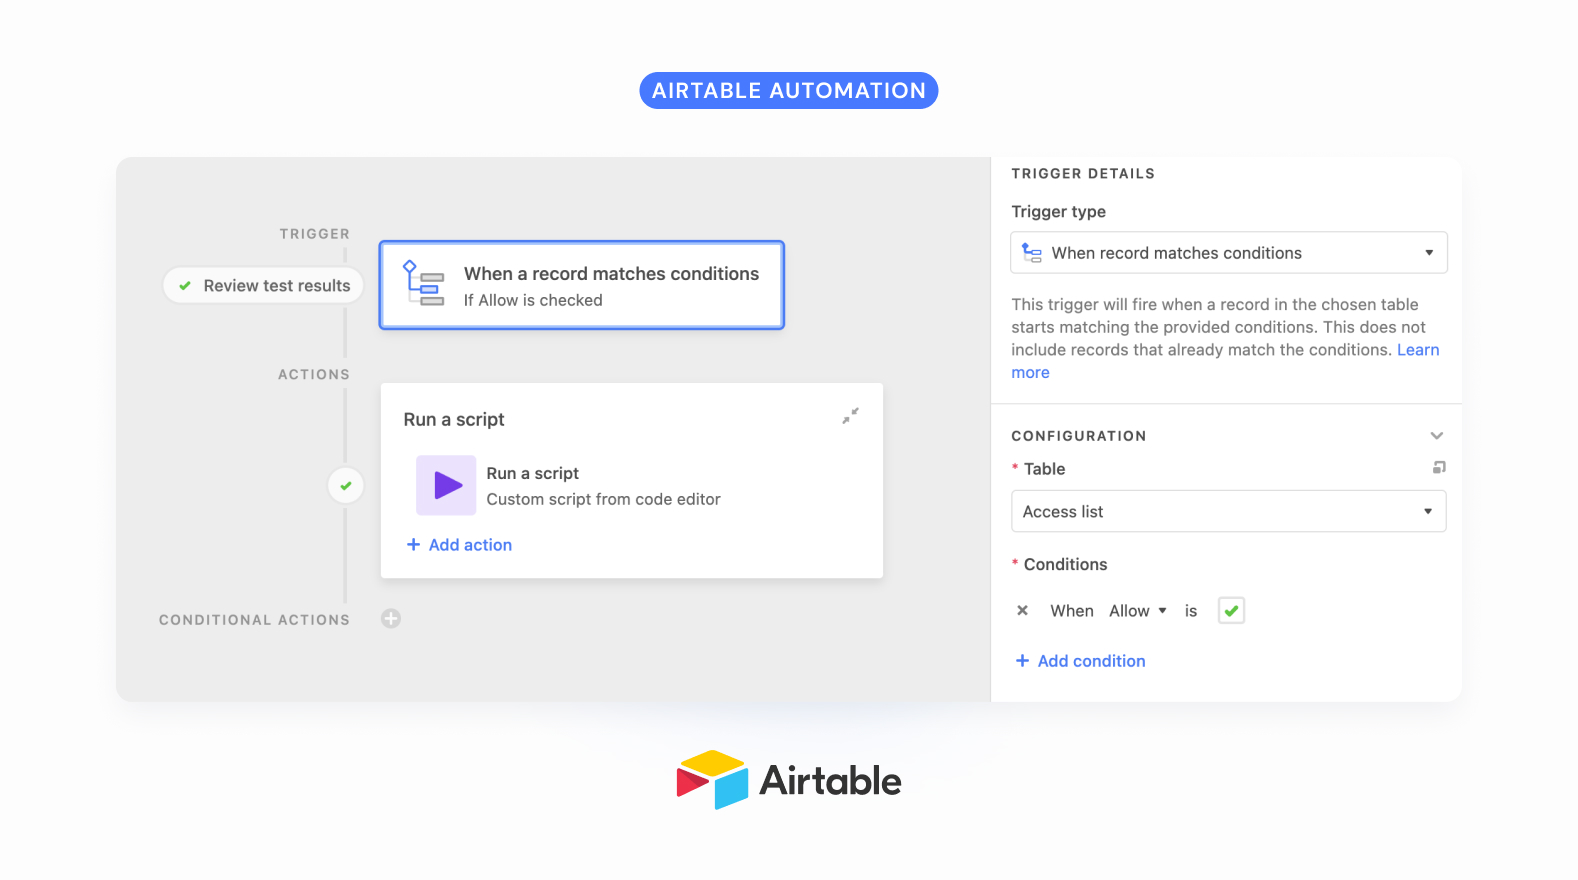
Now that we're done with the setup on the Dynamic site, we'll go back to Airtable to set up our automation. Click on the Automation tab, and select the option to trigger an automation when a record matches a condition. We'll set it up so that when a record is marked as "allowed", the automation will be triggered.

Set up a basic script to post updates
When the automation is triggered, we'll set up a Javascript that will run and hit the Dynamic API endpoint. To set up the script, we'll first need to define which variables we want to pull into it from the Airtable entry to be updated. We'll do so by defining input variables:
.jpg)
Once these are defined, we can use the following script to post the update to Dynamic, mapping the submitter name into an alias, as well as the wallet address.
Notes:
- You'll need to replace TOKEN with the API Bearer token we generated in step 2.
- You'll need to replace ALLOWLISTID with the Allow list ID you grabbed in the access list step.
At this point, you can run a quick test to make sure things work well. The Allow list should now update in Dynamic when something changes in Airtable.
Write back to Dynamic
Now, let’s write back the ID response back to Airtable so that we can reference it in the future. We'll do so by updating the DynamicID entry of the referenced row we added to the Allow list.
Step 4 - Run it!
That's it! You should now be able to check anyone in your CRM that you'd like to add to the Dynamic Allow list . Within a few seconds, the Dynamic ID will appear, referencing the entry, and allowing you to make changes in the future.
For this demo, we added two entries of customers that need (and deserve) access:
A special note: thank you ChatGPT
In the spirit of being nimble, I turned to ChatGPT with some scripting help. With a quick prompt ask, ChatGPT generated a basic version of the script I needed in step 3 above.
.jpg)
Step 5 - Next Steps
Now that we have a working version of the flow, there are several ways to extend and optimize it, which we won’t cover here. However, here are a few ideas for how to further improve the script:
- Use the Dynamic deleteallowlistentrybyid to remove entries when they are unchecked in Airtable. Given we sync IDs back to Dynamic, you can easily search for the entry to remove and make a call to remove it by creating a second script.
- Trigger a notification email to customers letting them know they have been added to the Access list. Using Airtable’s built-in email functionality, you can add a next step to the automation, letting individuals know they have been added to the Access List.
- Productionize it! As always, this is an example, but needs a bit of work to be productionalized. Remember to safely store keys and secrets.
- Error handling - as always, we'll want to add error handling to ensure wallets are correctly structured. You can do that within your script.
- Extend it with ENS, Lens, and Unstoppable Domains support.
Share this article


